How to Turn Your Bedskirt into a Beautiful Valence!


This is what the bedskirt looked like when I got it. The great thing about this project was that it already had a hem on the bottom. This would have been super super easy if there had not been those pleates. You can see them in the picture above. I decided to use my seam ripper and detach the white material from the striped material. (Okay, I confess, I first just ripped the white part off! I thought I was so clever. But, just a teeny tiny bit of the white was still attached to the curtain. It just bugged me! I soon realized that it would be best to use the seam ripper and start with a nice clean edge.) It WAS time consuming, but worth it. Just put in a movie (or in my case Word Girl) and it will be over before you know it.


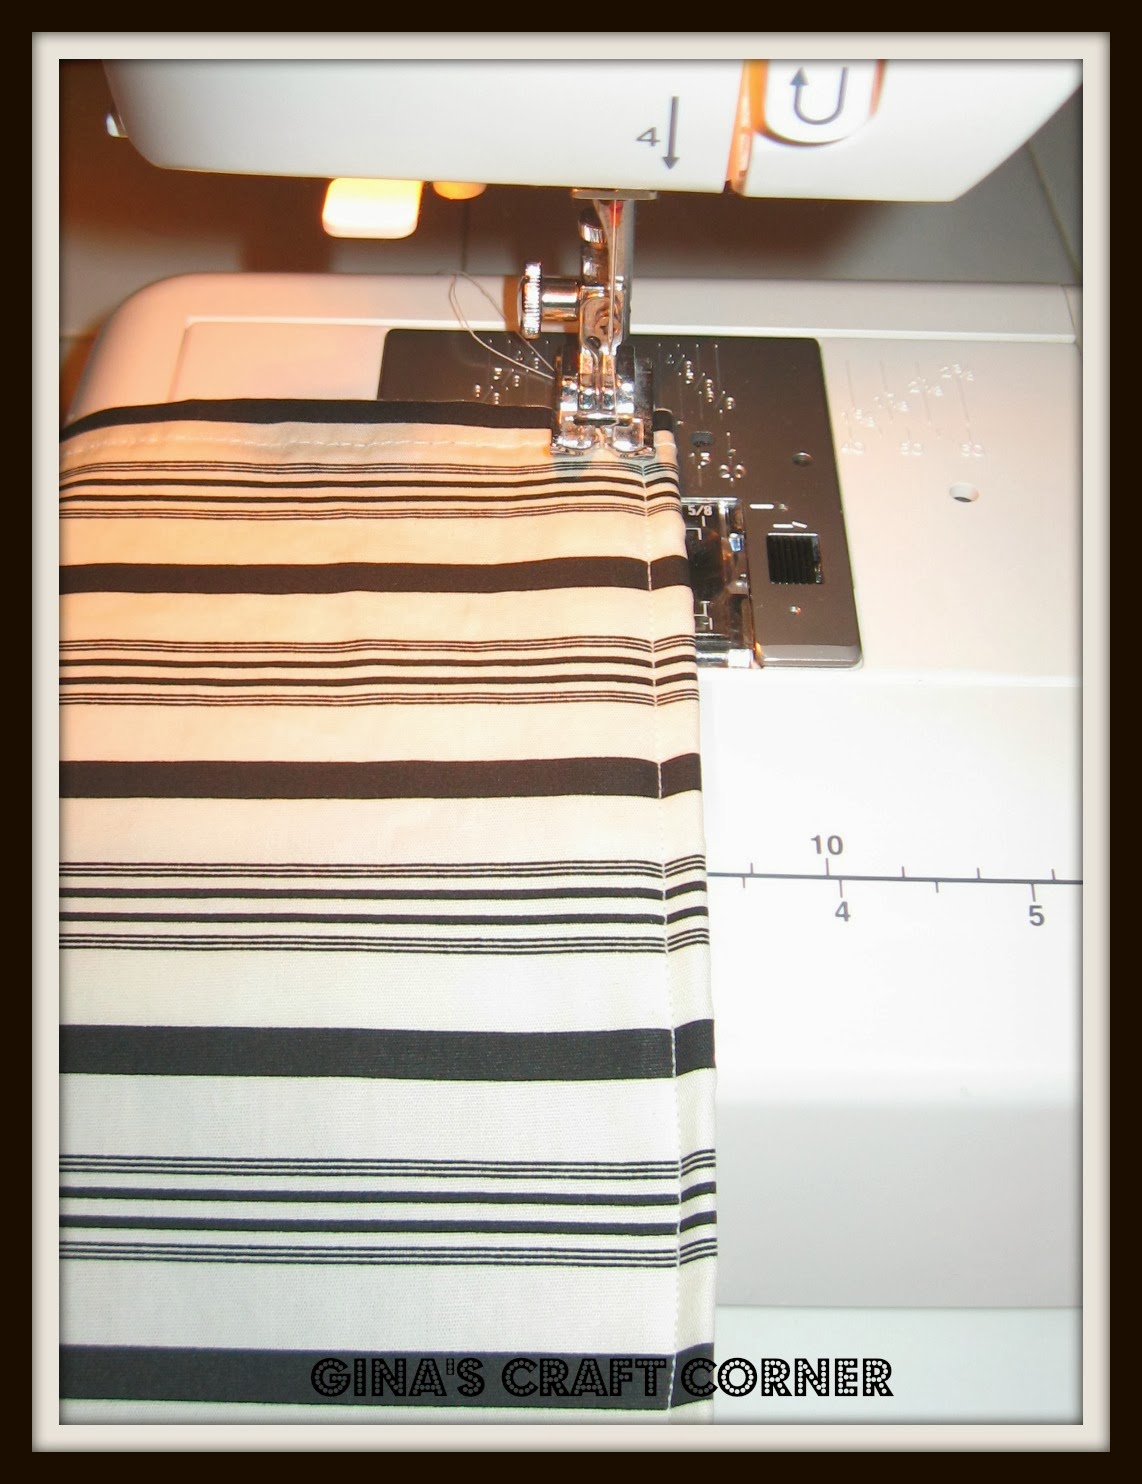
Use that first line of sewing as a mark for your second line of sewing and then sew another line of topstiching.

In the picture above, make note of how I am using my ruler to mark exactly where I want the bottom of my sleeve to be. This type of ruler works nice b/c you can push it up flush against the top of your curtain in order to create a straight line on the bottom of the sleeve. For my curtain, 3 1/2" was the perfect length for my sleeve to enable the rod to fit in nice and snug. Once you make this determination just fold the excess material under and then pin. If you have a lot of excess, I suggest you take the time to cut some of it off. Move all along the top of the curtain until you have the entire sleeve pinned.


You can see in the picture above that my valence rod fits nice and snug! So satisfying!

It also hangs straight! I was so proud of my first one! I could not believe I had just made my first curtain and it actually looked like a curtain!


I had some extra material so I decided to make a couple of pillows to match!
Tips:
*Be sure to iron your curtain fabric before you begin. The white mesh material that makes up most of the bedskirt is not iron proof. It will melt onto your iron! So be careful! I barely touched it and it left a huge hole in one of my curtains and I had to remove the entire piece and start over. You cannot even iron on any of the curtain fabric if the white mesh material is directly behind it. The white mesh material will adhere to your fabric and you will no longer have an opening for your rod! To avoid this you could use any other material to make the sleeve for your rod.
*If you make the valence sleeve too wide, it will not bunch up nicely. If you make it too small, you will not be able to fit the rod into the sleeve. So take your time and measure right the first time.
*********************************************************************************
If you enjoyed this post and would like to see more, I would love it if you would follow along with any of the purple links on the right sidebar. If you do, please leave a comment below and I would be more than happy to follow you back! Better yet, why not subscribe to my blog by e-mail and you will be sure to never miss a post.
Blessings,
~Gina
I will be linking up to THESE great parties!

Comments
Post a Comment
I LOVE..LOVE...LOVE...comments from you! It truly makes my day! So, leave a comment AND your webpage or social media link and I will get back with you. Thanks in advance!!
~Gina